How to install Hyper-V Server free stand alone version
In this post we will explain step by step how to install the Microsoft’s free Hyper-V stand alone version. Microsoft’s free Hyper-V Server comes with only a command line interface, although you can manage it remotely using Remote Server Administration tools, if you are interested you can check out our post about how to manage Microsoft’s Free Standalone Hyper-V server. The reason we chose the free Hyper-V server from Microsoft is because its free and you can keep it after you spend time configuring it, since the server can not have any other roles assigned to it and the fact it does not have any GUI to manage it has its plus and minus points (Check out out post on What are the differences between different versions of Microsoft Hyper-V Server). So lets get started in installing Microsoft Hyper-V free Standalone server.
Downloading free Windows Server 2008 R2 SP1 from Microsoft:
For our example we downloaded the ISO file from Microsoft for Hyper-V Standalone Microsoft Windows Server 2008 R2 SP1 from Microsoft’s website here. Note that this is a free version of the server and it does not expire like other evalaution versions do for Microsoft Server 2008. Once you download the iso file, burn it to a DVD and boot from it.
Step 2: Windows DVD will start the Hyper-V Windows Server 2008 R2 install
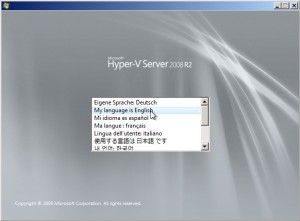
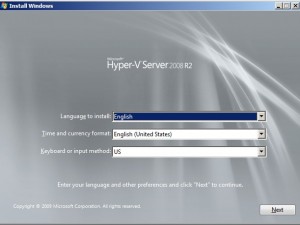
Step 3: Choose English as language for your Hyper-V Server
Step 4: Choose default and click next
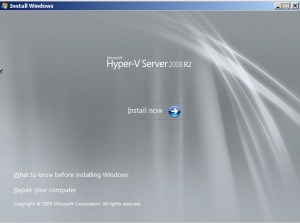
Step 5: Click on Install Now
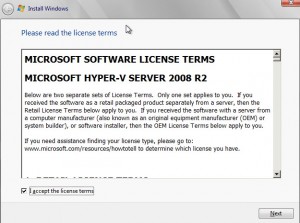
Step 6: Accept licensing agreement from Microsoft
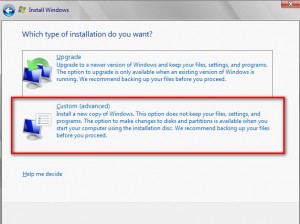
Step 7: On What type of installation you want for Microsoft Hyper-V Choose Custom (Advanced)
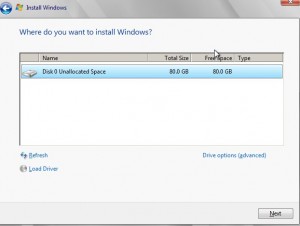
Step 8: Highlight the default disk to install Hyper-V server
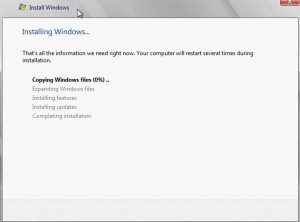
Step 9: Windows will start installing Hyper-V Server 2008 standalone now, your machine might reboot a few times during this install
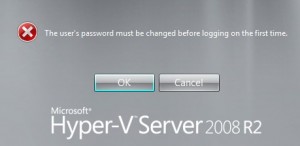
Step 10: You will be asked to change the Administrator password on your install of Microsoft Hyper-V Server 2009 R2
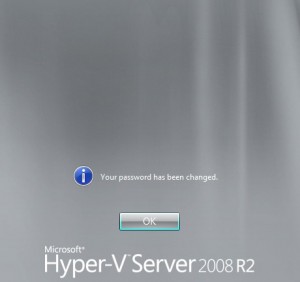
Step 11: Click Ok after changing your password on Hyper-V Server 2008 R2
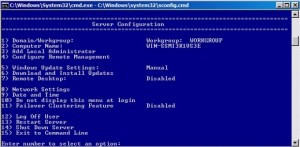
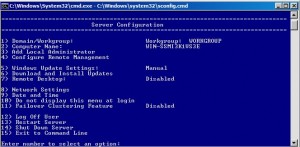
Step 12: Server configuration screen for Hyper-V Server R2 standalone version shows up
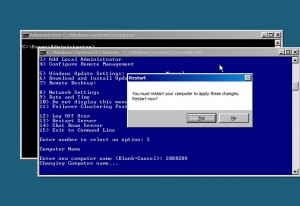
Step 13: Press Option 2 to change Computer Name, you will be required to reboot to apply the name change on Hyper-V server
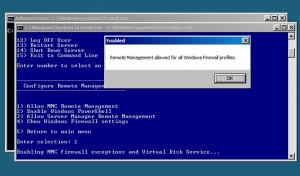
Step 14: Once the server comes back from the reboot, logon and choose Option 4 to choose Remote management and then configure options 1, 2, and 3 on the Remote Management to enable MMC Remote Management, Windows Powershell and Server Manager Remote Management. You can enable all three at the same time, it will however need a reboot to apply.
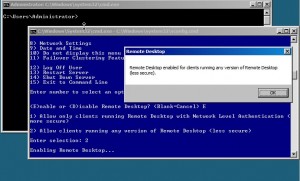
Step 15: Once the Hyper-V stand alone server comes back from reboot, enable remote desktop so that you can remote in to this server from another machine using RDP
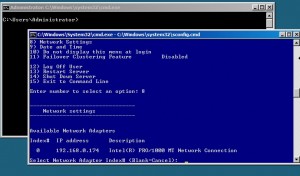
Step 16: Choose Option 8 from Hyper-V server’s main menu, this will take you into Network settings. Here you can assign the adapter a static IP address, DNS etc. In our case we will just make note of server’s IP address so we can use it to RDP to it.
Now you can Remote Desktop to your Hyper-V Windows 2008 Server R2 using Remote Desktop Client.
Check out our post about how you can remotely manage the standalone hyper-V server and configure virtual machines.




[…] How to install Hyper-V Server free stand alone version […]